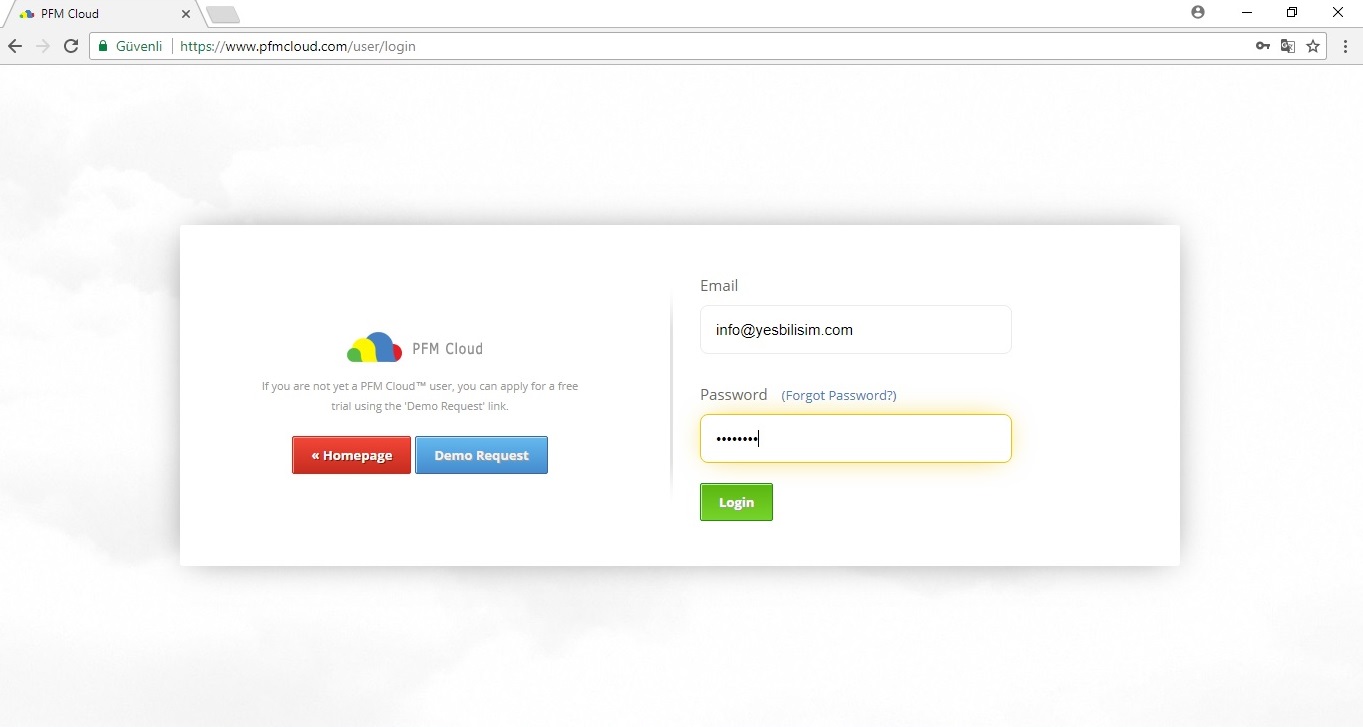
2- After you log in, you will need to create a new account to use PFM Cloud.
"Adding a New Account"
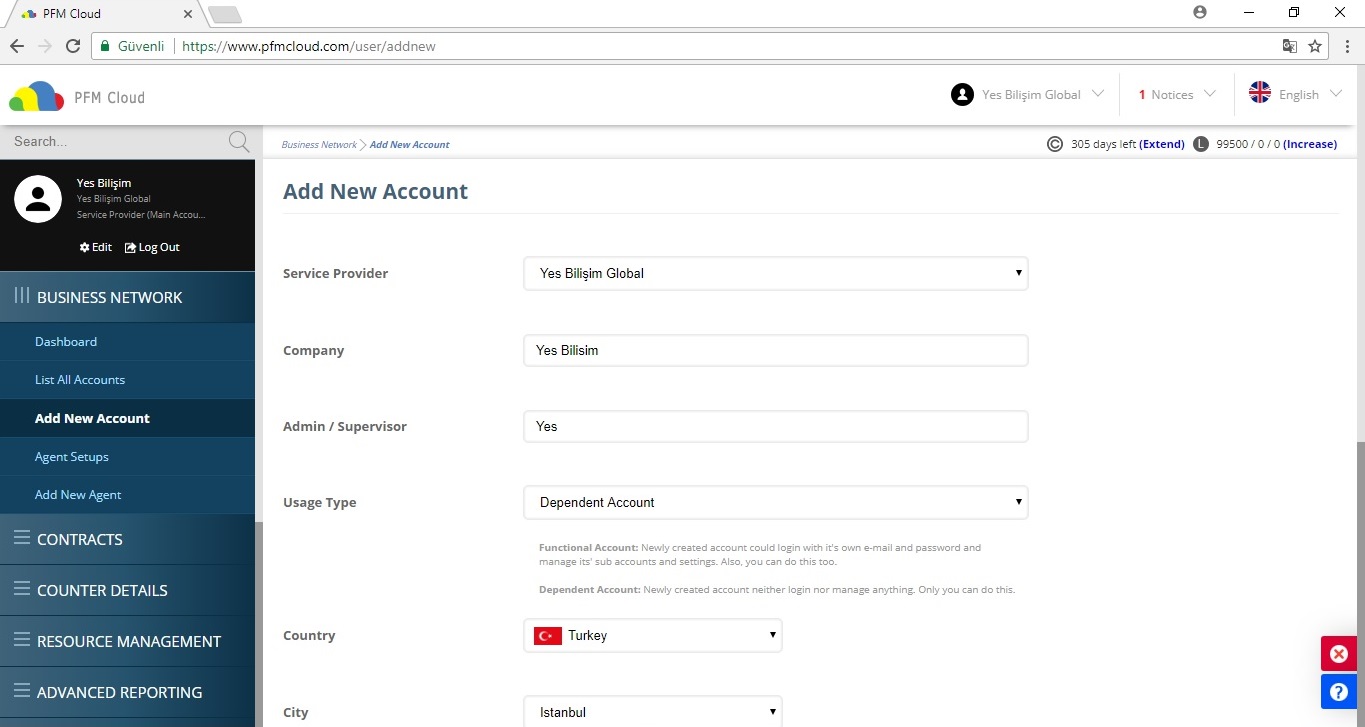
You can follow the steps below to create a new account. First, enter the "Add New Account" link from the business network menu. Then fill in the required fields on the form.
- Service Provider: These are the parent accounts that customers can add. Service Providers receive notifications about customers. From this field, select the service provider account to which the account belongs.
- Company: Enter the name of your customer or service provider (You can change or edit the company name later.)
- Administrator / Supervisor: Enter the name of the authorized person.
- Usage Type;
- Functional Account: It can log in to the system and manage its own account.
- Dependent Account: This account can not log in to the system and control subaccounts. These operations can only account for the connected. In other words, the account will be created, but no authority will be found.
- Email: Enter an email address that is active and in use. (You will provide access to the PFM Cloud with your email address.)
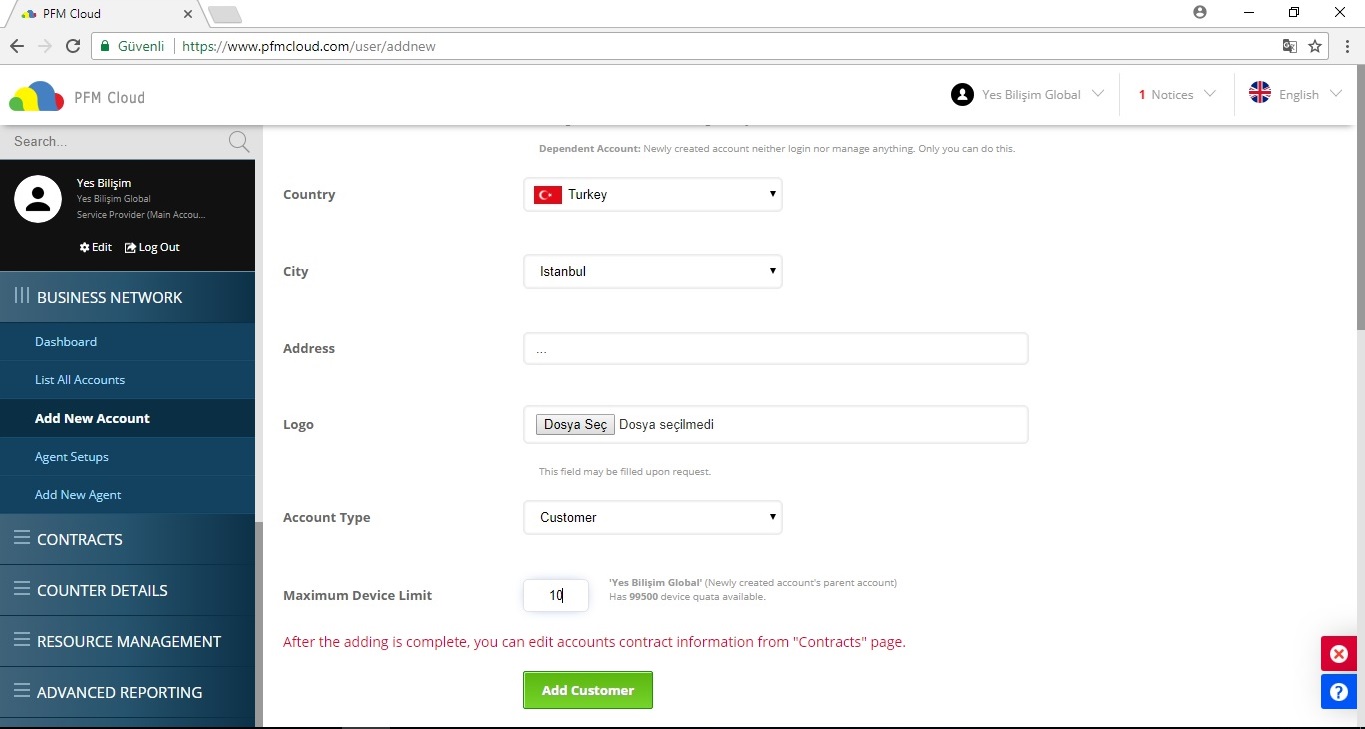
- Logo: Logo selection is not required, but you can choose a logo for your account.
- Acoount Type;
- Service Provider: These are the parent accounts that customers can add. (It may create its own customers or vendors.)
- Customer: Subaccounts where devices are hosted. Agent installations are done with this account.
- Authority Group: If you are creating a service provider account, select the authority group you want to associate with this account.
- Maximum Device Limit: Enter the maximum number of devices that can be used in the calculation. (For example, if your quota is 100, you can not give a device limit to other customers if you give a quota of 100. If you give quotas 100 to a customer, you can add up to 100 devices and you can increase or decrease the device limit later.)
3- Edit Contract
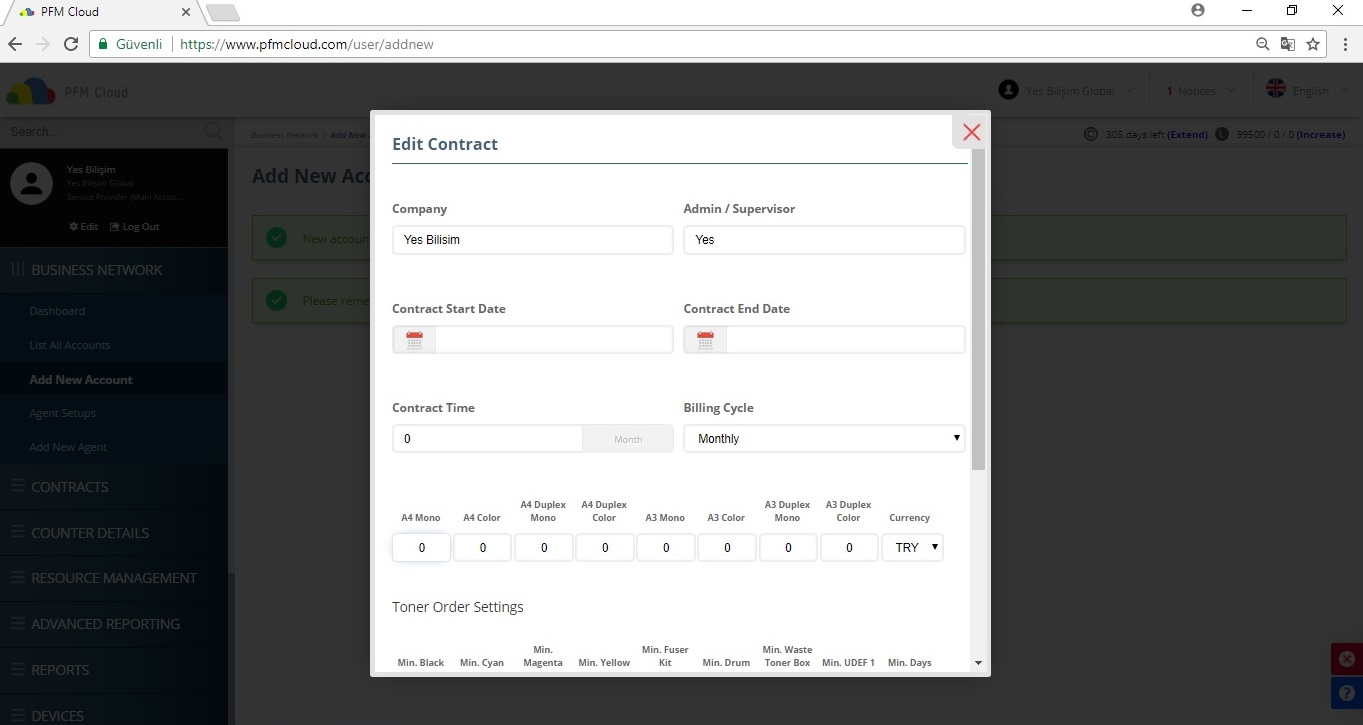
After you register, you have to enter the contract period. The system will automatically notify you based on your contract start and end dates.
You should choose at what intervals customer information will be reported to you. For example; monthly, 3-month, annual etc.
You can create pricing reports if you enter the price per page.
Toner usage notifications can be made in 2 different types;
a. The minimum value can be entered according to the remaining percentage. (Such as 10%, 20%)
b. The remaining day can be calculated for. The system will automatically analyze the behavior of each device based on the remaining day of the calculation and will notify you when the time is up to the day you specify.
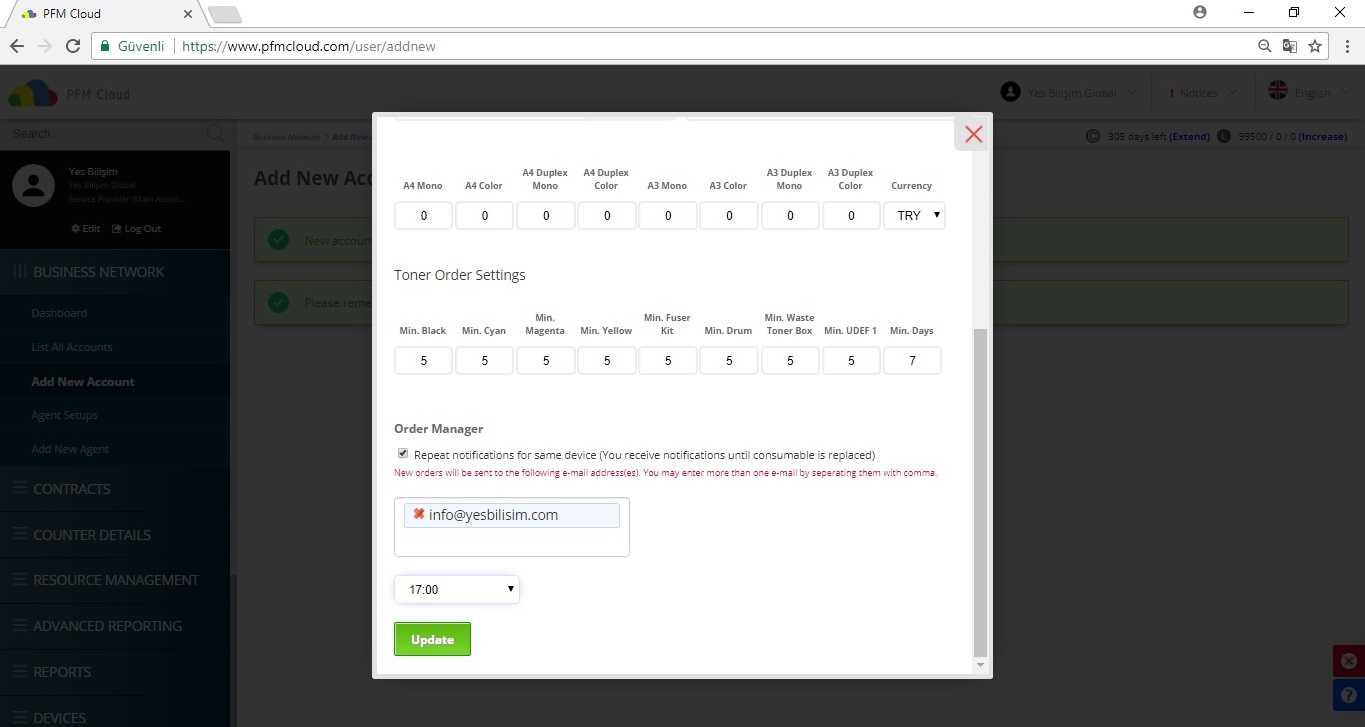
You can enter and save the e-mail address of the order for the toner order. (The e-mail address is not required if not, order notifications will not go.) You can also select the time at which the daily order mail will be created.
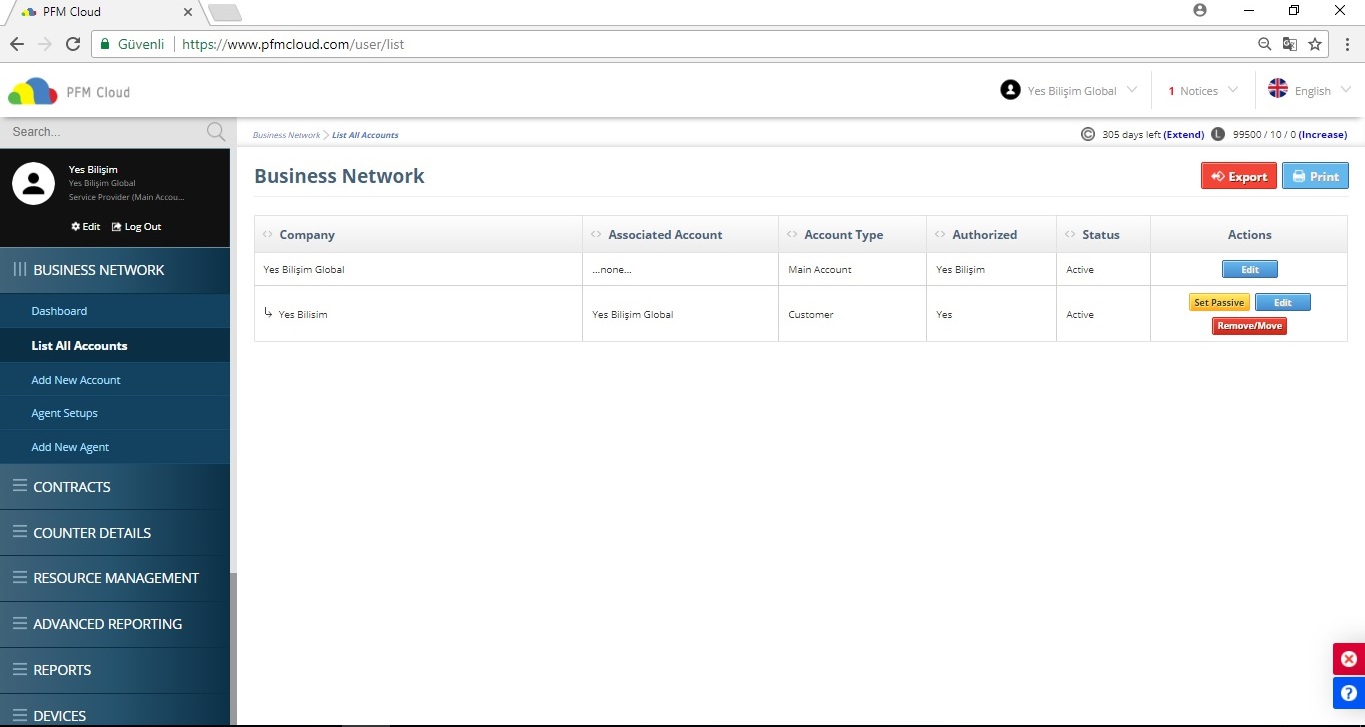
4- You can see the added accounts from the "List Accounts" menu, edit, delete, and set passive from this menu.
5- After adding an account, you need to create an "Agent" to add the devices. For this, you need to enter the following fields from the "Add New Agent" menu.
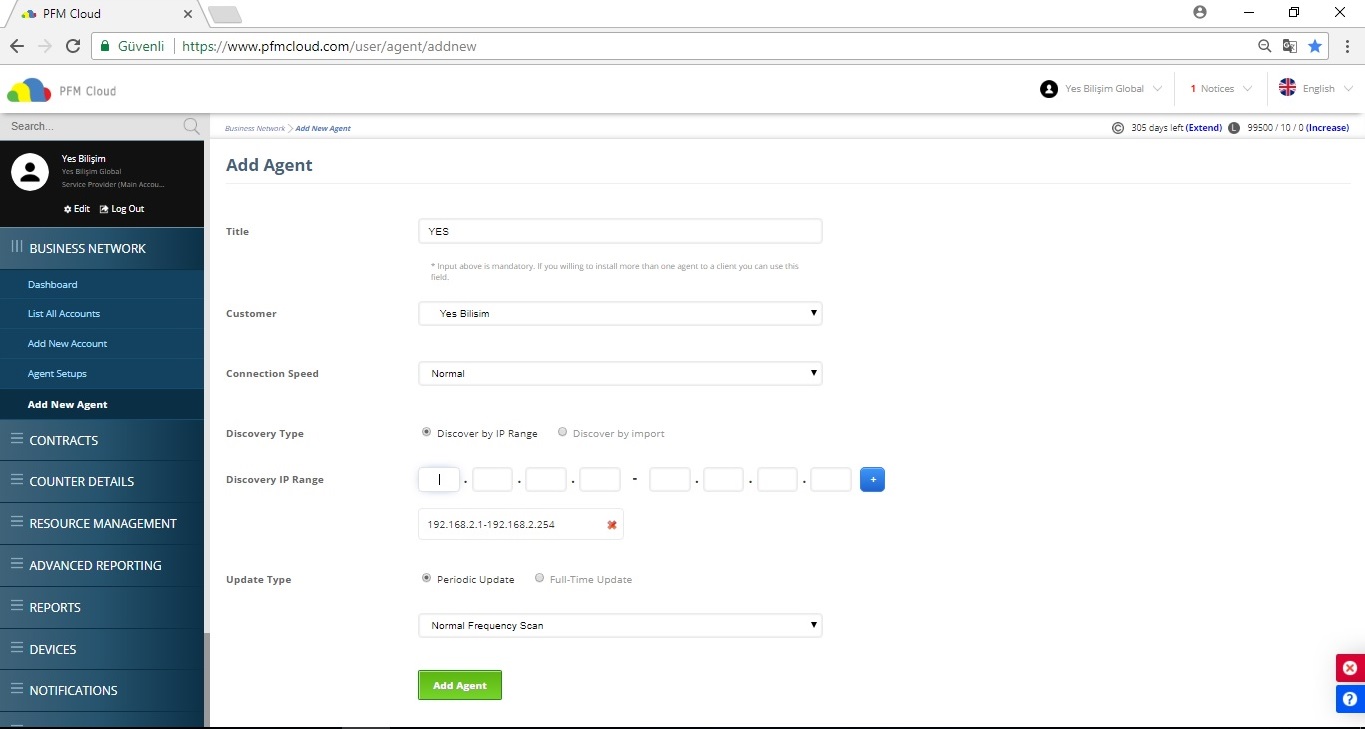
Agent: A desktop program built for PFM Cloud. It runs as a service and takes the data from the devices and sends it up-to-date to the PFM Cloud.
Customer: You can install the Agent on customer accounts.
Connection Speed: The period of communication with the device. (If you choose Quick option and your network infrastructure is not fast enough, you will not be able to update the information on the device.)
- Slow: The communication time is 4000 ms.
- Normal: The communication time is 2000 ms.
- High: The communication time is 1000 ms.
Discovery Type:
- Discover by IP Range: The IP range of the devices you are using. (You can add more than one ip range for each added ip range by pressing the blue "+" button, you can add new ip ranges that can be edited later).
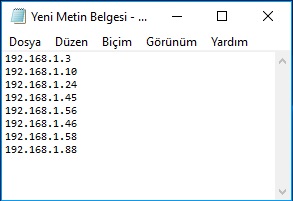
- Discover by import: Send IP files of the devices you have used with the file. (The file format should be .txt, there should be no spaces at the end or the end of the ip addresses, and there is no limit. Sample use is as below.)
Update Type: Cihazların hangi sıklıkla kontrol edileceğini belirler.
- Periodic Update:
- Low Frequency Scan: Recognized less frequently during certain times of the day (3 times)
- Normal Frequency Scan: It is scanned at specific time intervals during the day. (5 times)
- High Frequency Scan: It is frequently scanned during the day. (8 Times)
- Full-Time Update: You can determine at what time you will be scanned.
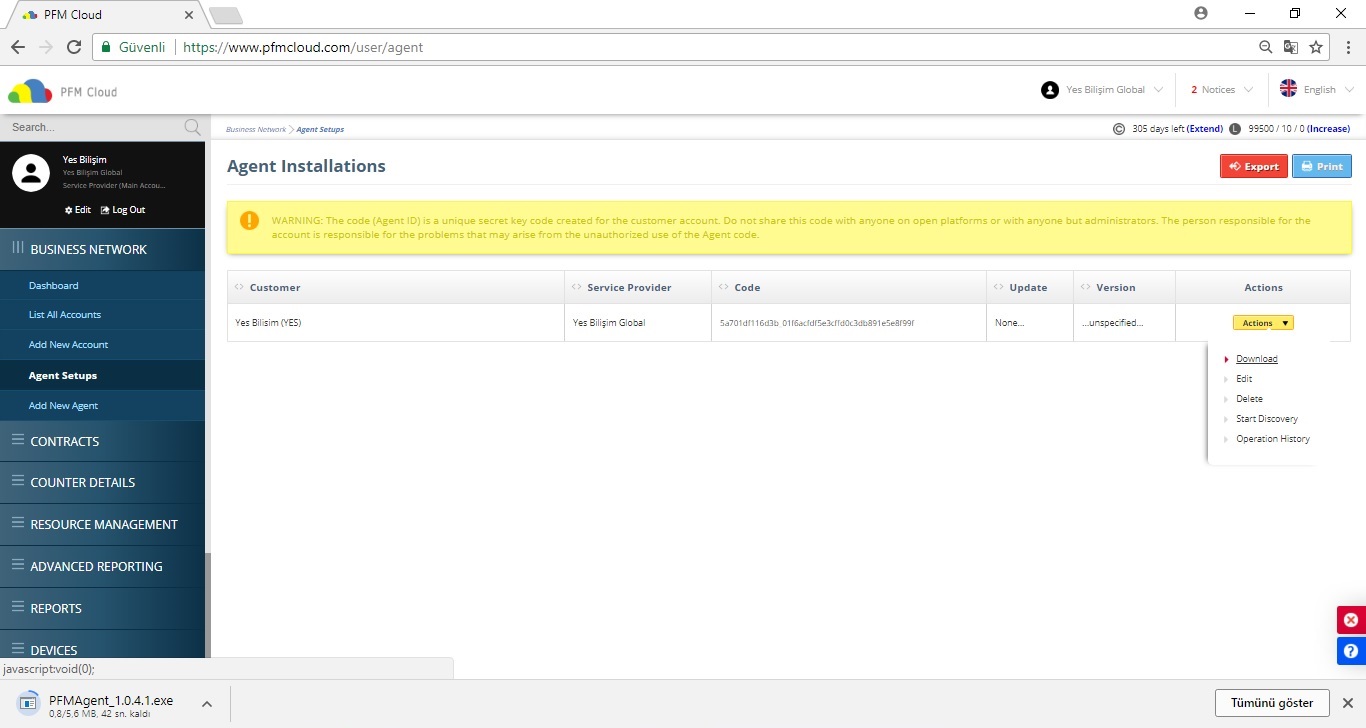
6- After adding the agent, you can check the added agents from the "Agent Setups" tab.
For the agent we have created, you can download it from the menu on the right side by "Actions" tab. You can download the agent and use it to install it with a flash disk.
7- Agent Installation
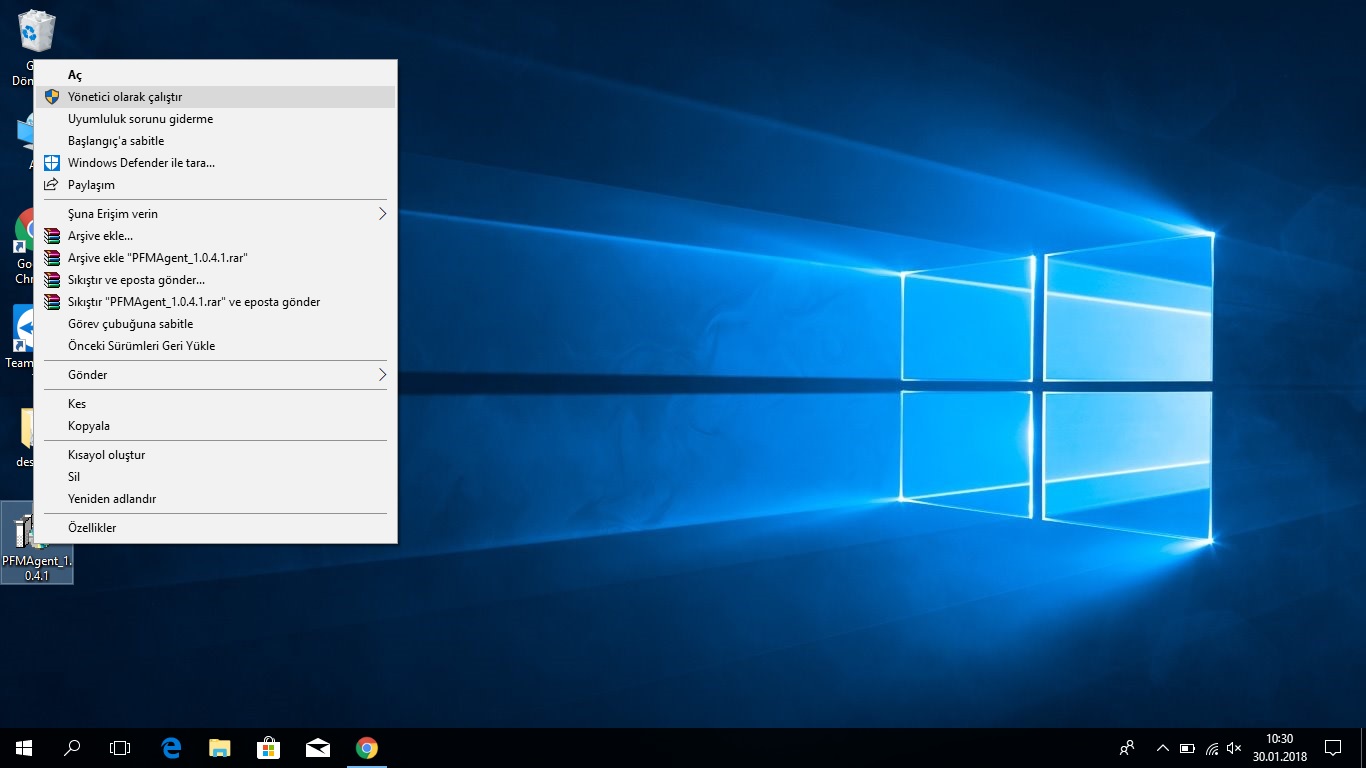
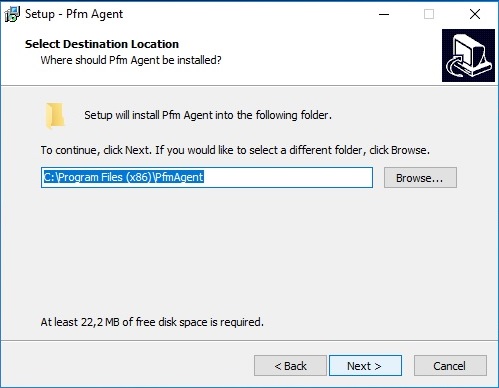
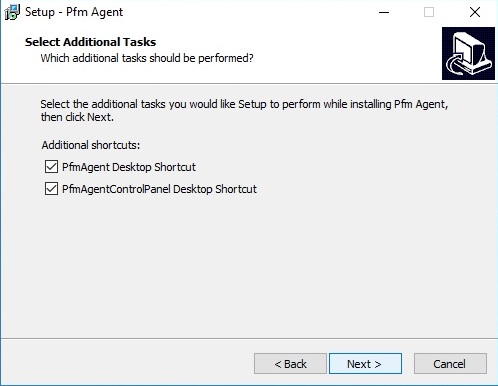
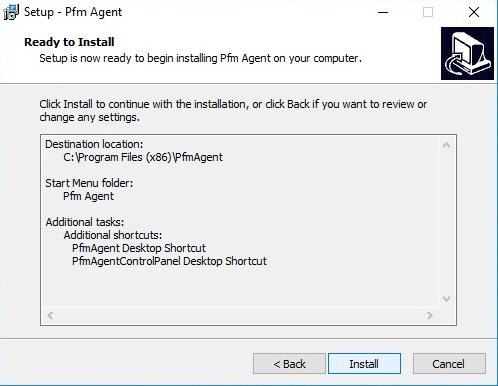
Run the file as "Administrator" after the download is finished.
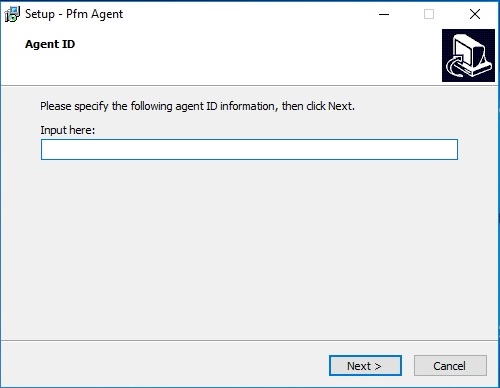
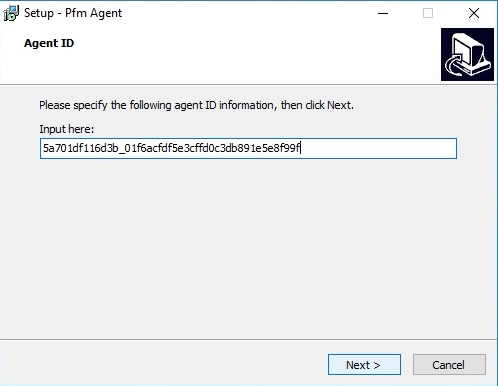
We need to enter "Agent ID" at the first stage of installation. We can find the Agent ID on the "Agent Setups" tab.
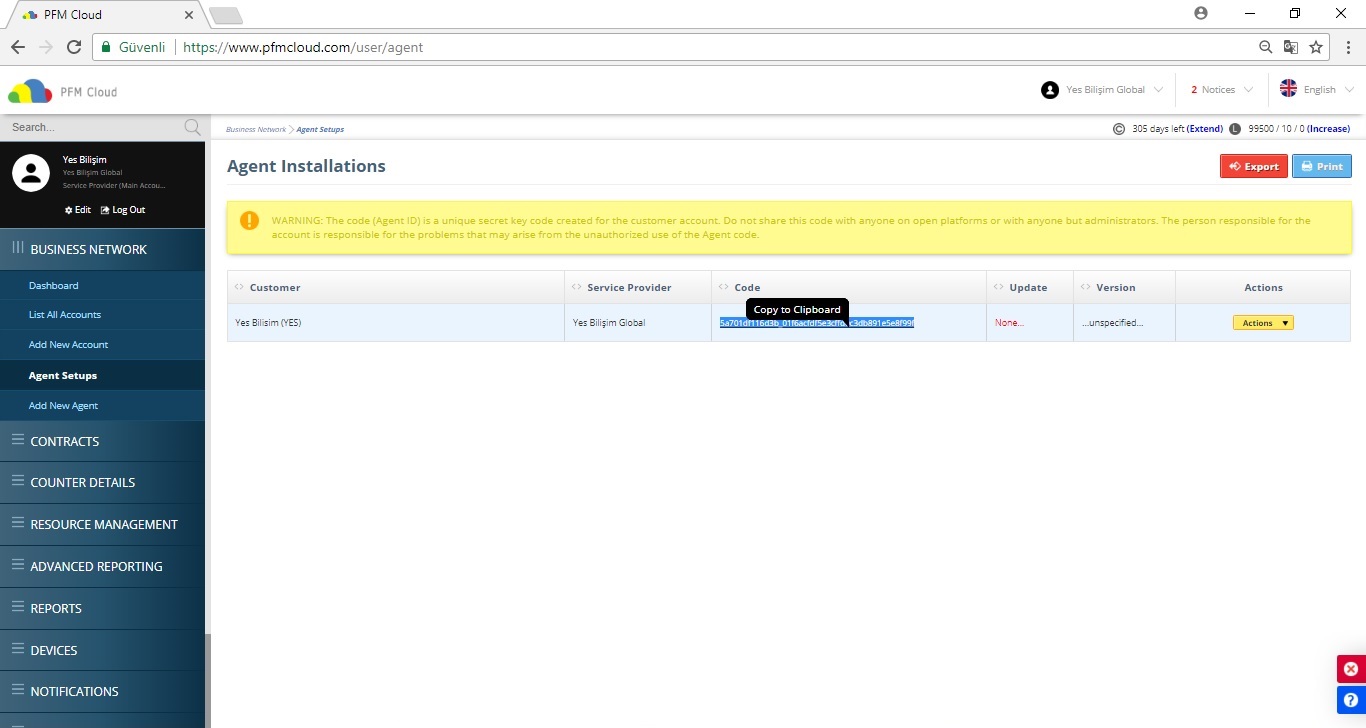
Copy the Agent ID and paste it on the install screen. (The Agent ID is specific for each client and can not be used if data is entered incorrectly.) For this reason, correct entry is required.
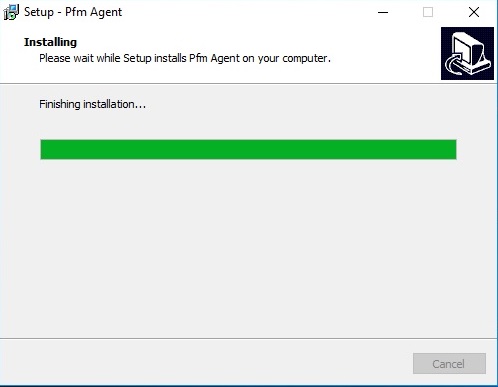
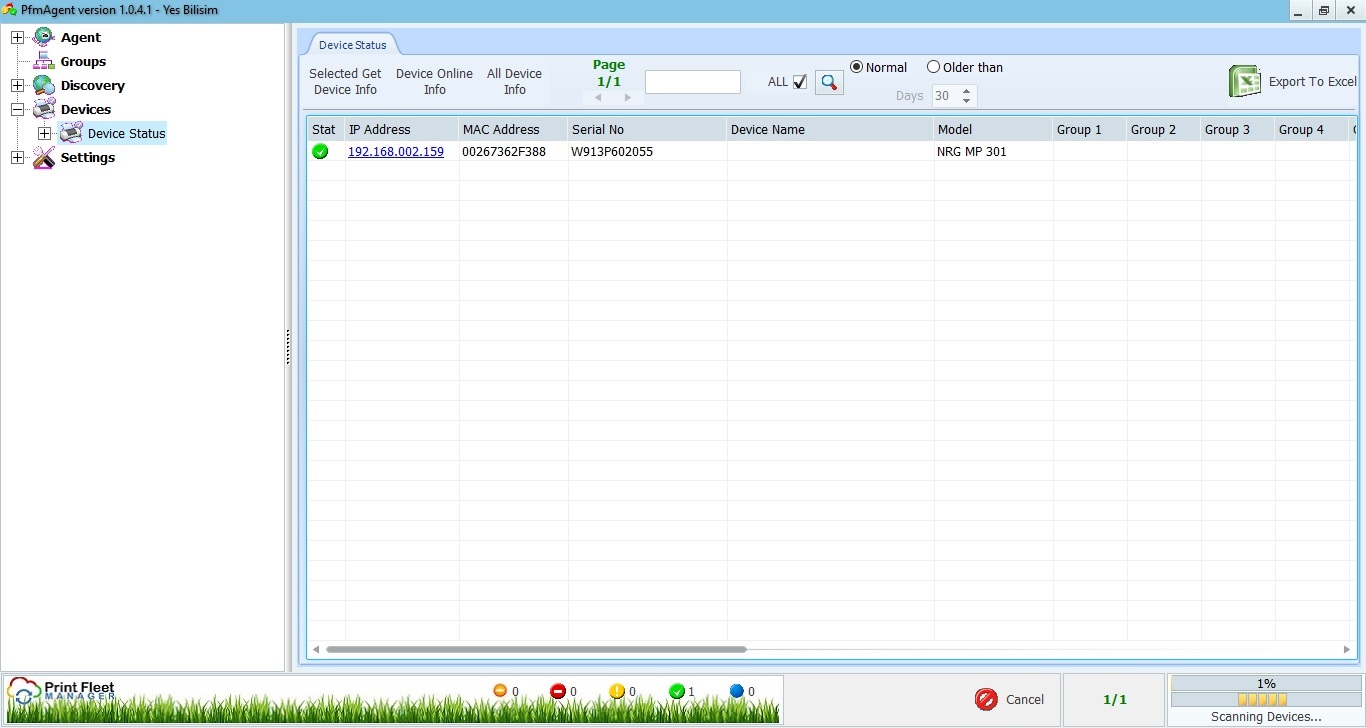
After the installation is complete, the scan of the IPs or IP ranges that we provide while creating the Agent will start automatically. After browsing, you can see your devices by clicking "Device Status" on the left side. The discovered devices will be automatically installed on the PFM Cloud site and the agent will continue to run as the Windows service on the backplane.